
Packing goes faster than unpacking, and that is why learning how to label boxes for moving pays off. A clear label system helps helpers place boxes correctly and stops you from opening random boxes late at night just to find basics.
The Simple Labeling System That Keeps Boxes Out of the Wrong Room
If you only take one thing from this guide, take this:
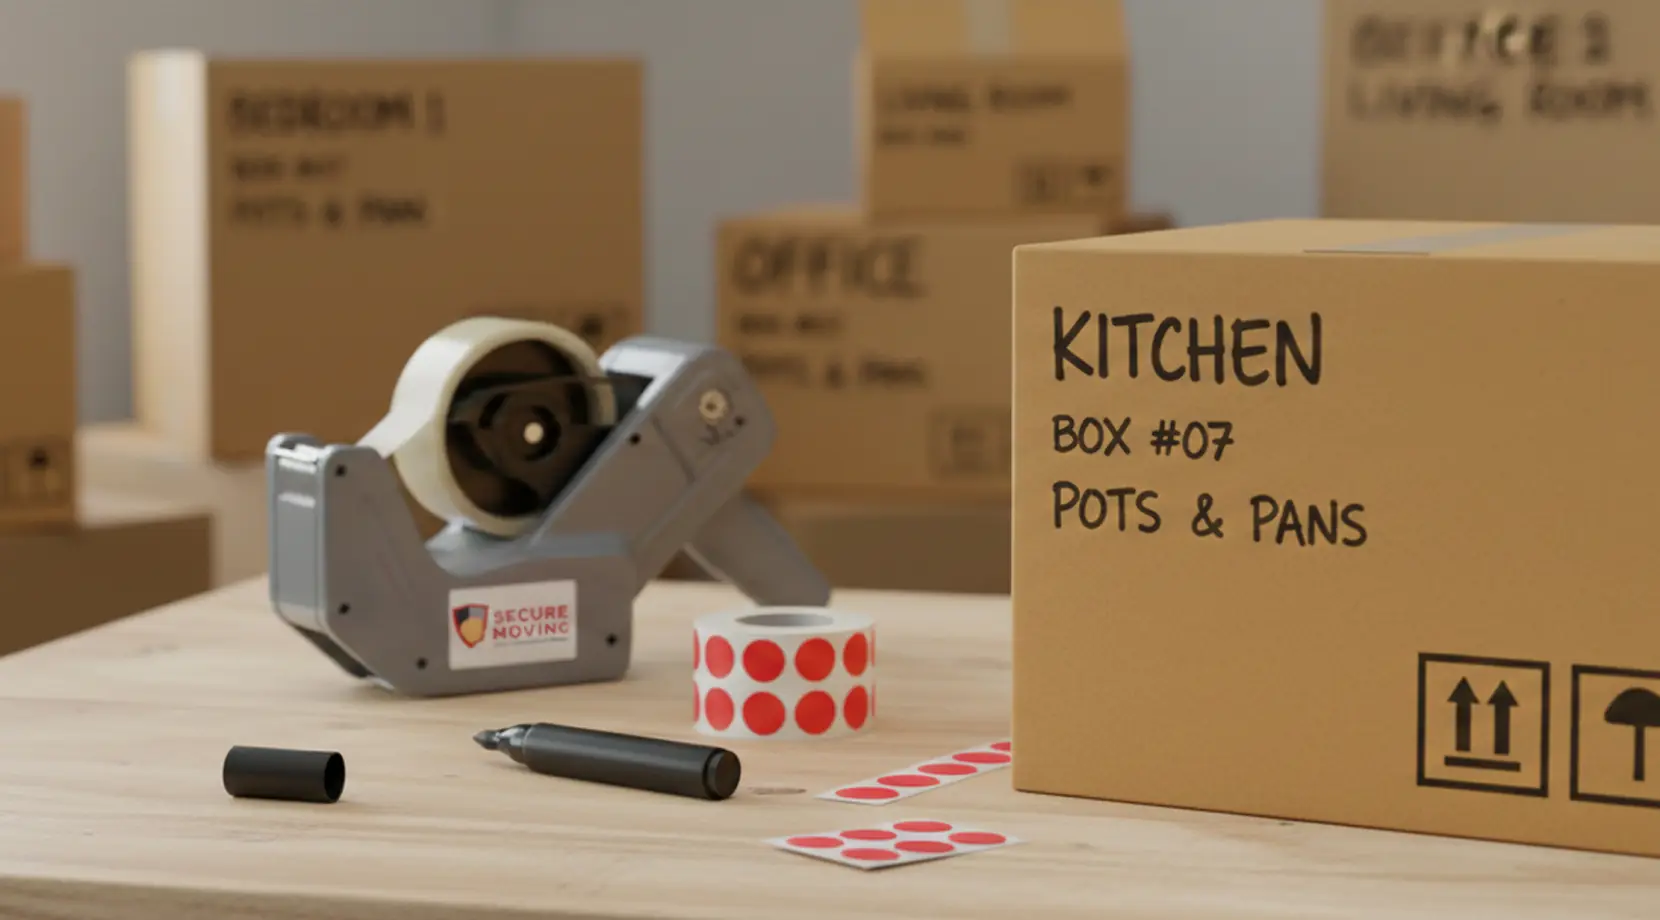
The best how to label boxes for moving system is the one you can repeat on every box. Use the same four parts each time: Room + Box Number + Contents Summary + Priority/Handling.
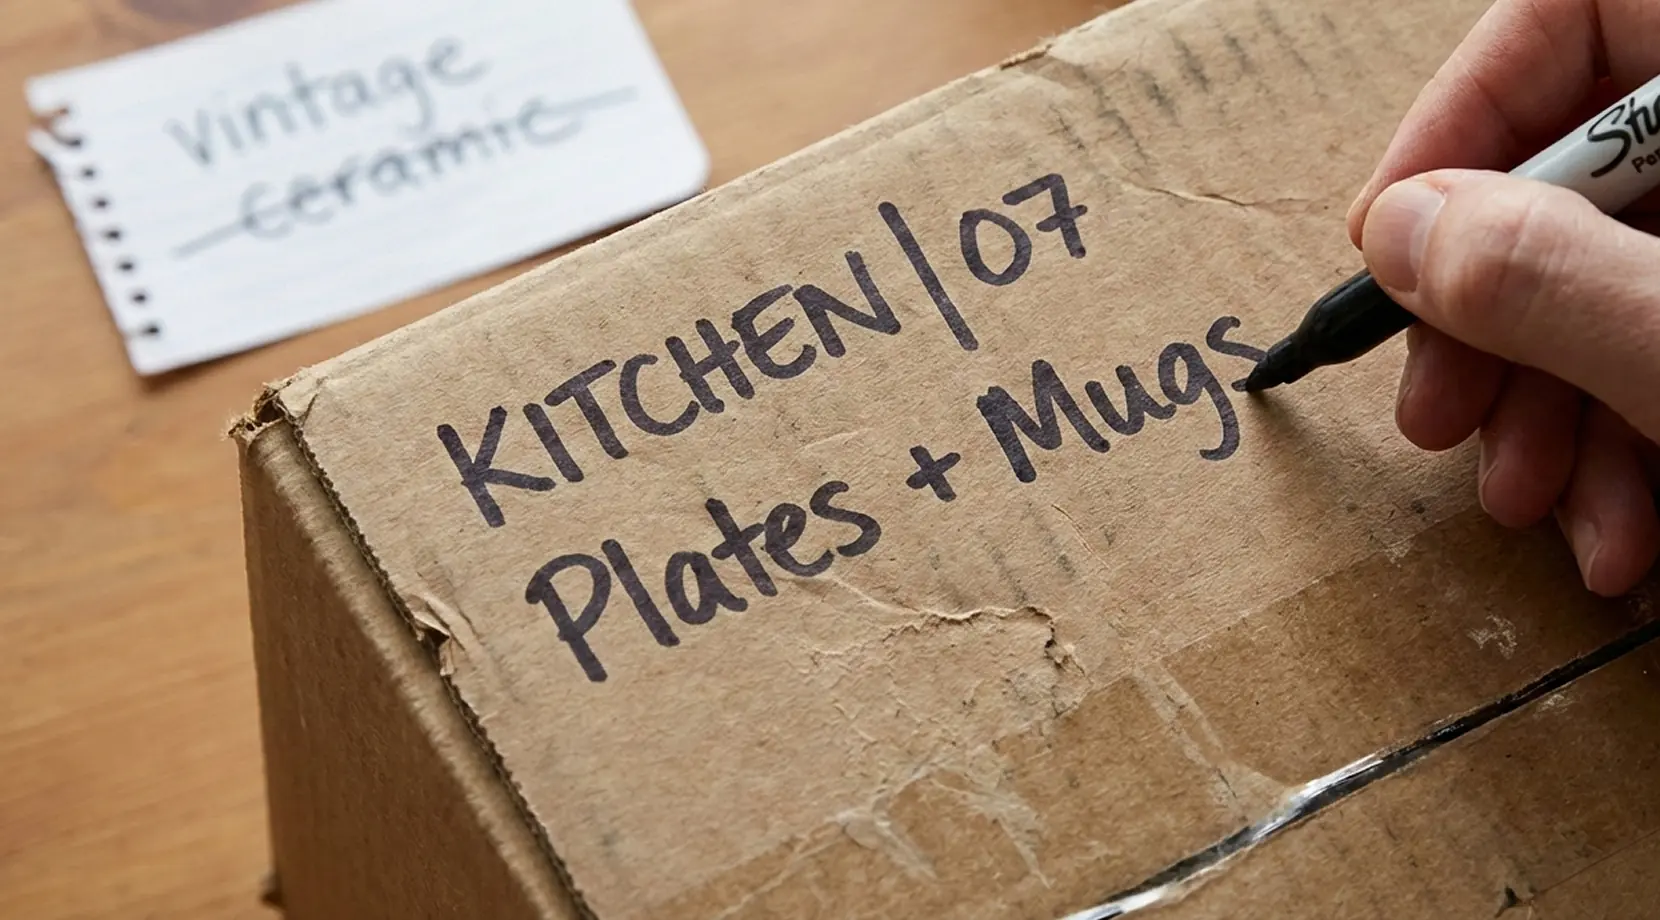
A working example looks like this: “KITCHEN | 07 | Plates + Mugs | OPEN FIRST | FRAGILE.” Once you commit to that format, helpers can follow it without questions.
If you want a bigger packing timeline to match your label system, use this residential moving checklist as your backbone.
What to Write on Moving Box Labels and What to Leave Off
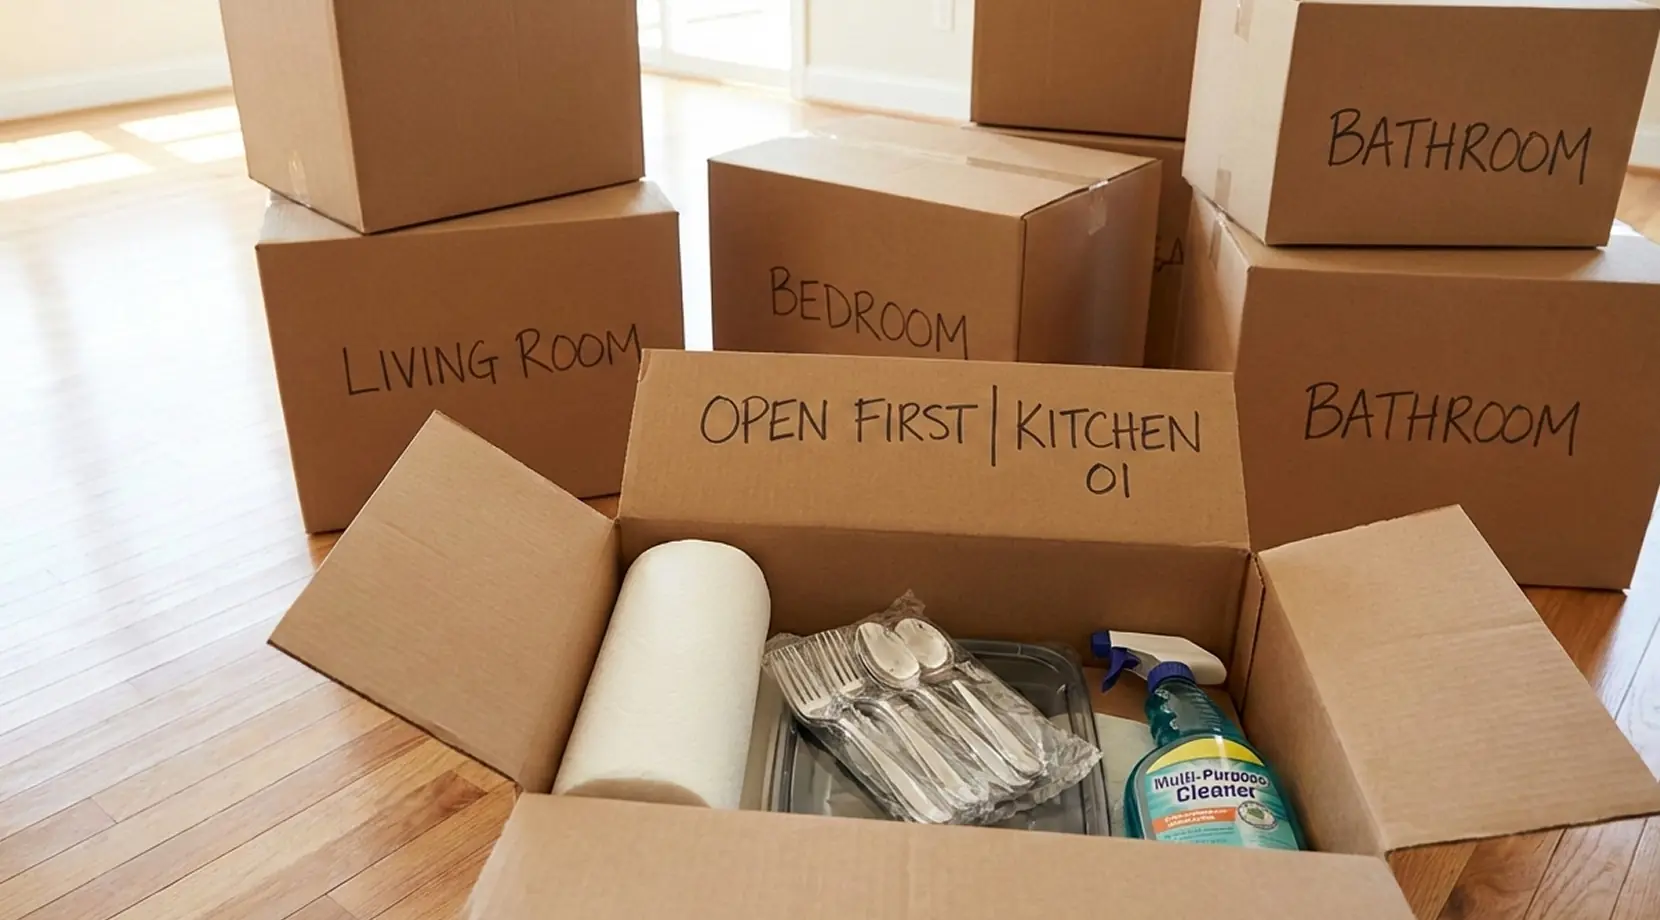
People get stuck on how to label boxes for moving by writing too much. Keep the outside readable from a few steps away. Start with the destination room in big letters, then add a contents line that uses categories or 2–5 items, like “BATHROOM | Towels + Toiletries.”
Next, add one priority tag so you unpack in layers: “OPEN FIRST,” “WEEK ONE,” or “STORAGE.” Finish with handling notes like “FRAGILE,” “HEAVY,” or “THIS SIDE UP.”
For privacy, avoid labels that advertise high-theft items. “Personal Items” beats “Jewelry,” and “Desk Accessories” beats “Laptop.”
Where to Put Labels so Movers Can Read Them While Carrying
A label is only useful if someone can see it. For how to label boxes for moving that works in real hallways, use the “three-surface rule.” Put one label on the top, then add labels on two adjacent sides.
Keep placement consistent, too. Pick one spot, like the upper-right corner on side panels, and use it every time. If you use paper labels, tape over them so the ink does not smear in Vancouver rain.
Moving Box Stickers vs Marker Labels
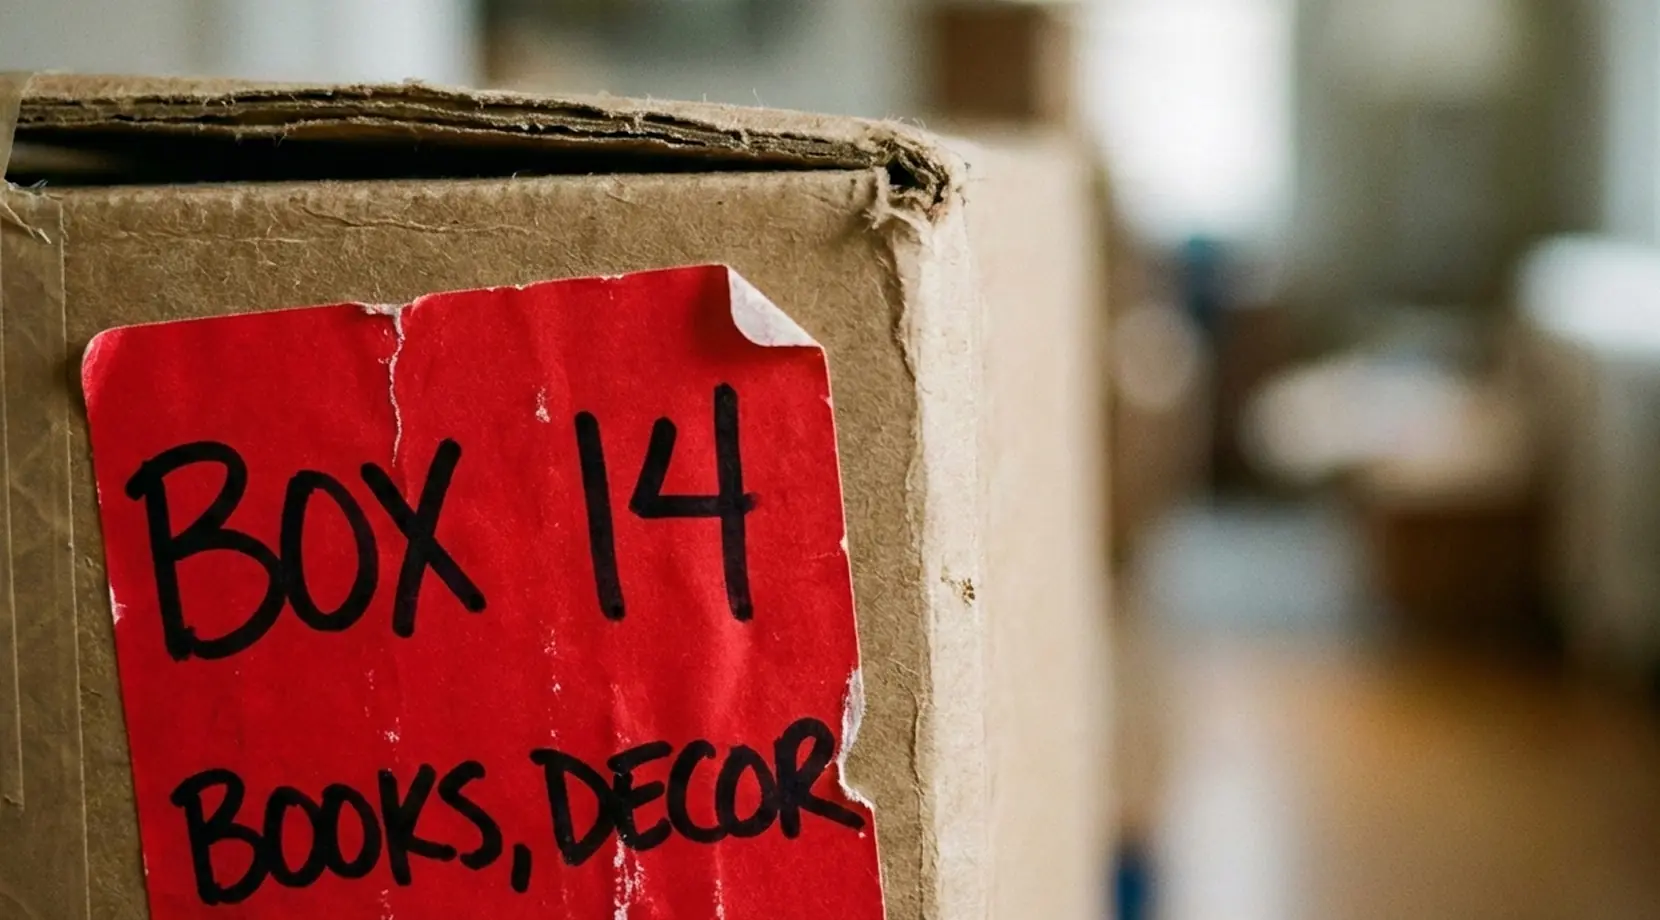
For how to label boxes for moving quickly, combine both tools. Stickers are tidy and fast for room and priority, and marker text is flexible for contents and box numbers.
A simple routine is a sticker for room and priority, a marker for contents and number, then tape over the label. That makes sure moving box stickers are readable while still letting you customize each box in seconds.
The Best Way to Label Moving Boxes With Color, Codes, and Door Tags
If you want the best way to label moving boxes without babysitting every box, add a two-layer system: color for speed, and a short code for clarity. Codes like “K” (kitchen), “BR1” (primary bedroom), “BR2” (kid’s room), and “OFF” (office) help even when people are tired or lighting is bad.
Then label the doors. Tape a matching color strip plus the room code on each door frame in the new place. Helpers walk in, see “BR2,” and drop those boxes there.
A small real-life detail: on a Vancouver condo move with tight elevator windows, door tags, plus room codes kept drop-off accurate even while the main organizer stayed at the old place.
Add a Box Numbering System so You Can Find Things Fast
Room labels get boxes to the right area. Numbers help you find things inside those areas later. For how to label boxes for moving with less guesswork, number boxes per room starting at 01: KITCHEN 01, KITCHEN 02, LIVING 01, and so on.
Then keep a quick list in your phone, like “KITCHEN 07: plates, mugs, kettle.” It takes a minute and it is often the difference between calm unpacking and chaos. That is the practical payoff of how to label boxes for moving.
If you are forwarding mail, add it to your move-week list so nothing disappears mid-move. Canada Post has an official guide on moving and mail.
Special Labels for Fragile, Heavy, Electronics, and Liquids
This is where how to label boxes for moving saves your stuff. For fragile boxes, write “FRAGILE” big, add “THIS SIDE UP” arrows, and keep the contents line specific enough to help you unpack safely. This guide on packing fragile items pairs well with that approach.
For heavy boxes, write “HEAVY” and keep box size smaller, so it is liftable without strain. A short “HEAVY: TEAM LIFT” note can prevent someone from trying to carry it alone. WorkSafeBC has practical guidance worth a quick read before move day: lifting and handling basics.
For electronics, label the device category (Monitor, Router, Console), then bag cables and label the bag. For liquids, add “UPRIGHT” arrows and keep them bagged so leaks do not spread.
Labeling for Storage or Long-Distance Moves
Storage and long-distance moves add one extra risk: boxes can get mixed into the wrong phase. For how to label boxes for moving across multiple stops, add a phase line like “STORAGE,” “FINAL HOME,” or “PHASE 2.” For storage, add a month and year, like “STORAGE | 02/2026.”
If boxes might be transferred, add your last name and destination city in small text on two sides as a backup.
Copy-Paste Label Templates You Can Use Tonight
If you want a no-thinking setup for how to label boxes for moving, copy one of these and repeat it:
- STANDARD: ROOM | ## | Category or 2–5 items
- OPEN FIRST: ROOM | ## | Key items | OPEN FIRST
- FRAGILE: ROOM | ## | Item type | FRAGILE | THIS SIDE UP
- STORAGE: STORAGE | ## | Category | 02/2026
Get a Free Quote
A good label system works best with a crew that follows it. Secure Moving brings 15+ years of experience across Greater Vancouver, full-time trained teams, clean trucks, and careful handling that keeps boxes and furniture protected.
You get transparent quotes with no surprise add-ons for stairs, elevators, or basic equipment, plus licensed and insured service for home, office, local, long-distance, and cross-border moves.
Get a free quote from Secure Moving, the most organized moving company in Vancouver today!
